Quick Start Guide
- Install your robot according to the instructions in the manual, and carefully check if the wiring and installation are correct.
- Turn on the power of your robot (Note: Please check if the battery is fully charged before use), at this time, the Bluetooth indicator light will flash.
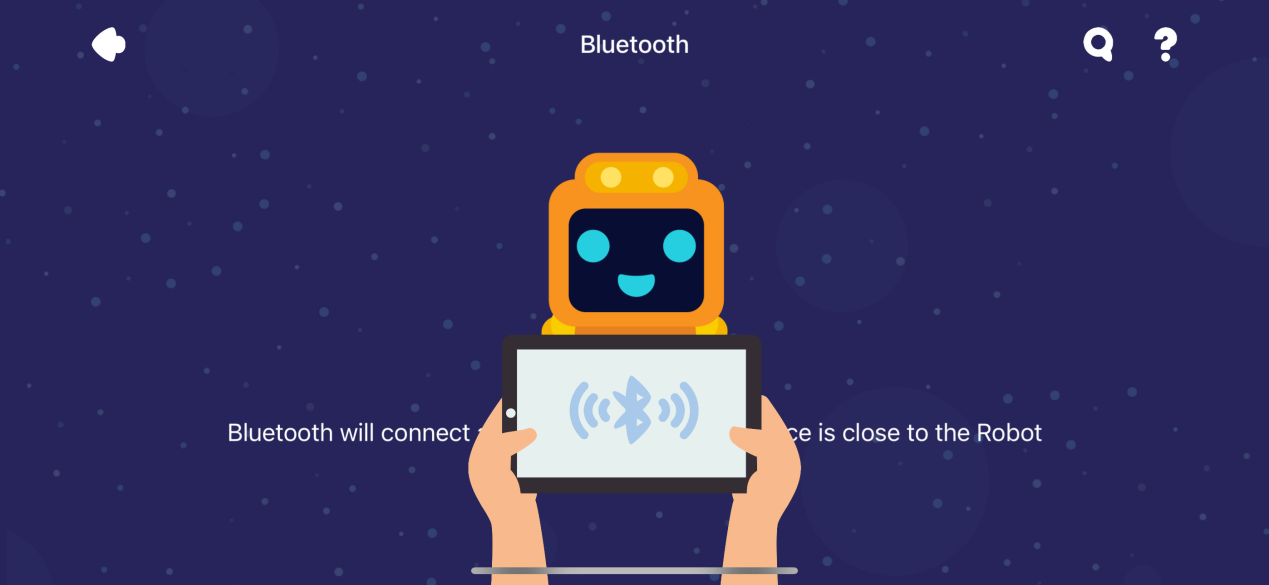
- Open the Bluetooth connection interface of the WeeeMake App, approach the robot. The Bluetooth will automatically connect and you can then control your machine.
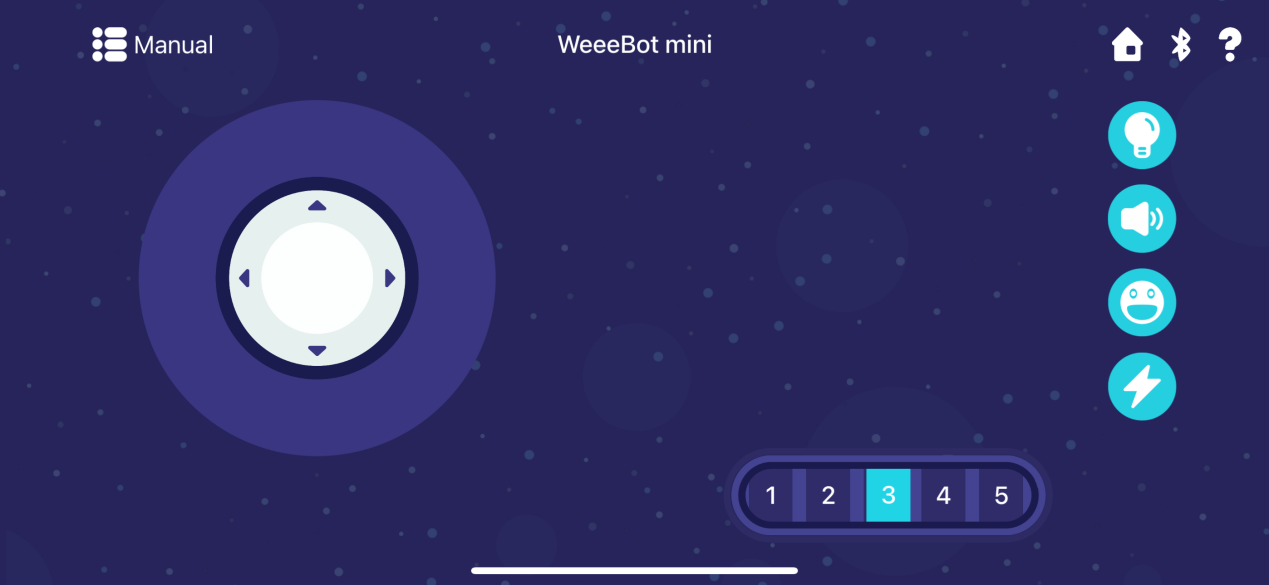
- On the main control interface of WeeeBot, you can try each button to see the reaction of the robot.
- Mobile App Programming Examples
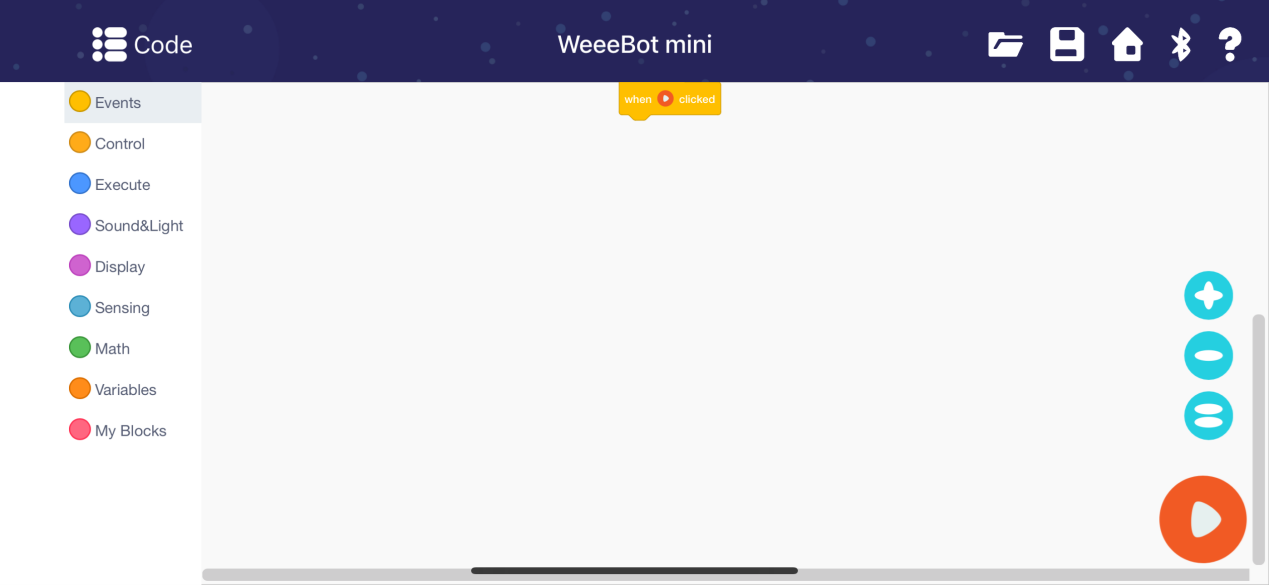
5.1 Enter programming mode; as shown in the figure below.
(Note: Entering programming mode requires burning the online firmware via the PC-side WeeeCode software, and when leaving programming mode and wanting to control with the mobile app, you need to burn the factory firmware again using the WeeeCode software to use it)
5.2 Open the PC-side software WeeeCode, connect to the robot via USB, and select the corresponding robot form.
- Select the main control board, as different robots correspond to different main control boards. Currently taking WeeeBot mini (Cool Runner) as an example, choose WEEEMAKE ELF mini.
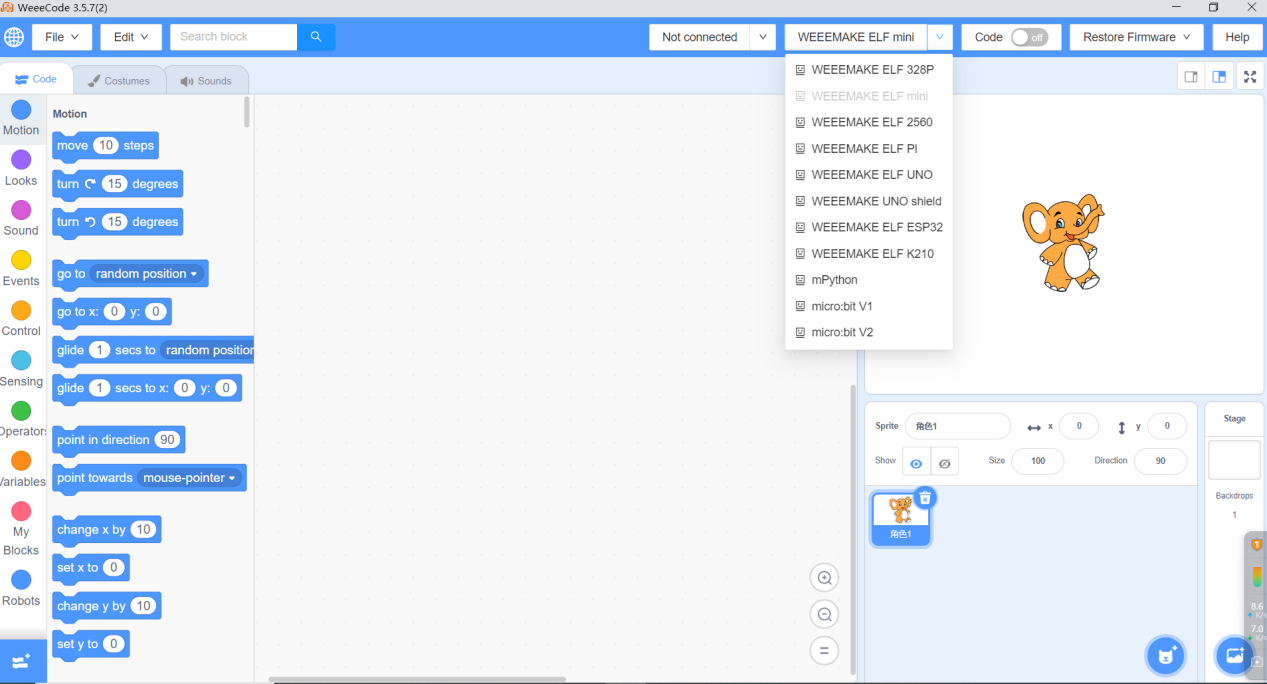
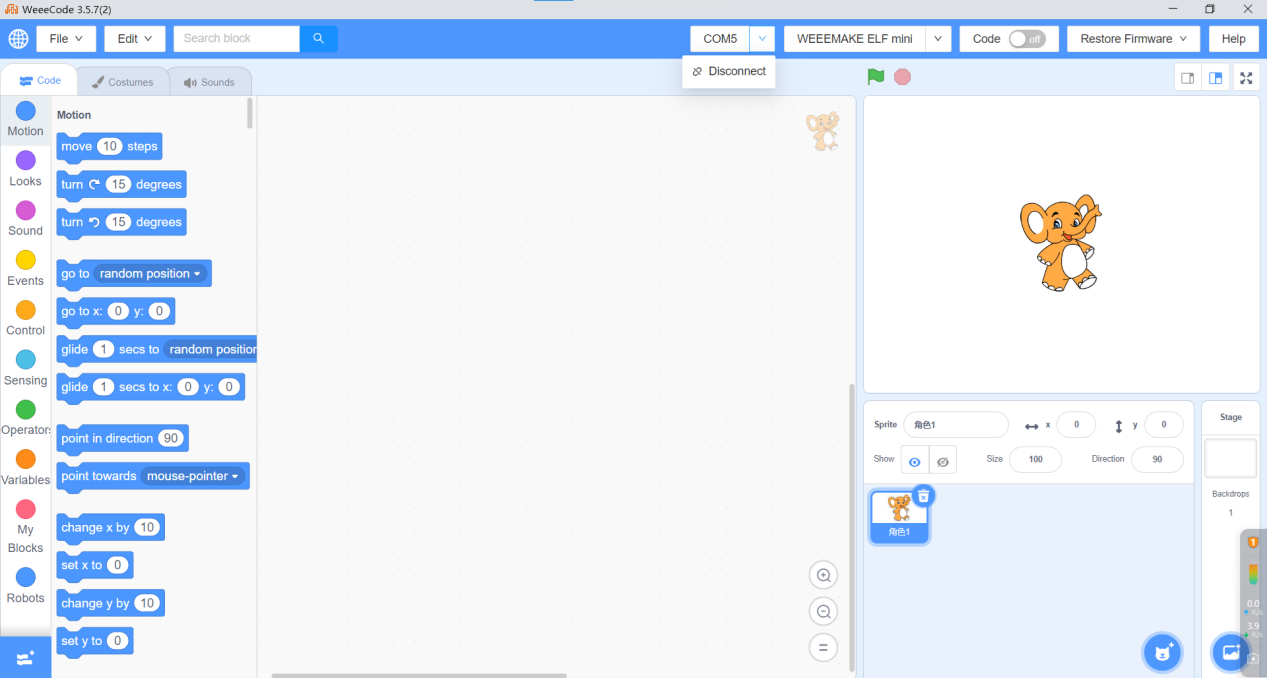
- Select “Not Connect”→ “COM5” (Note: Different computers may display different COM ports)
- Click “Restore Online Firmware”
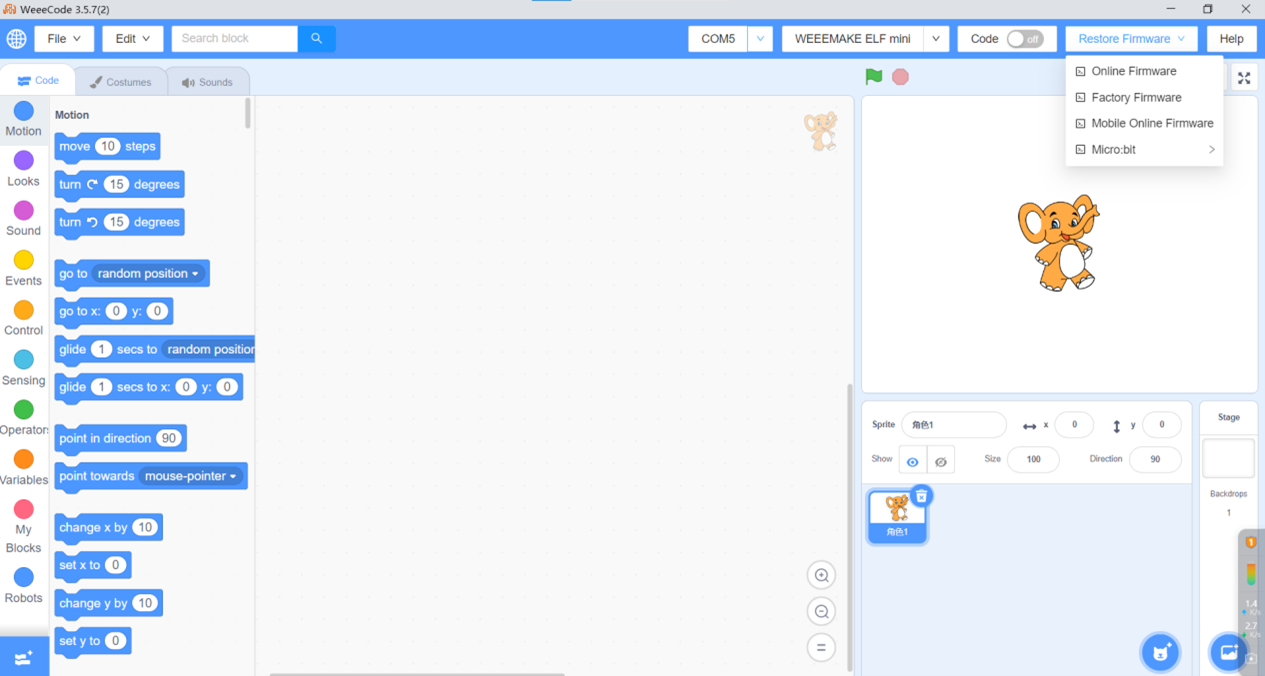
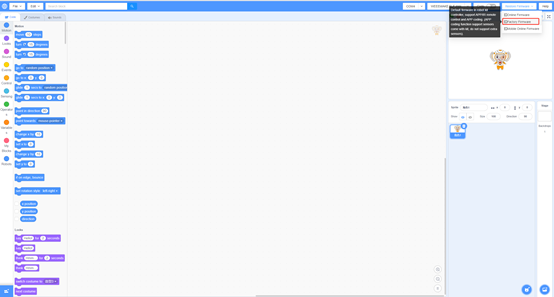
- Select “WeeeBot”, then click “OK” to finish. If you want to control with a mobile phone or IR remote control, please restore the factory firmware for the corresponding robot.
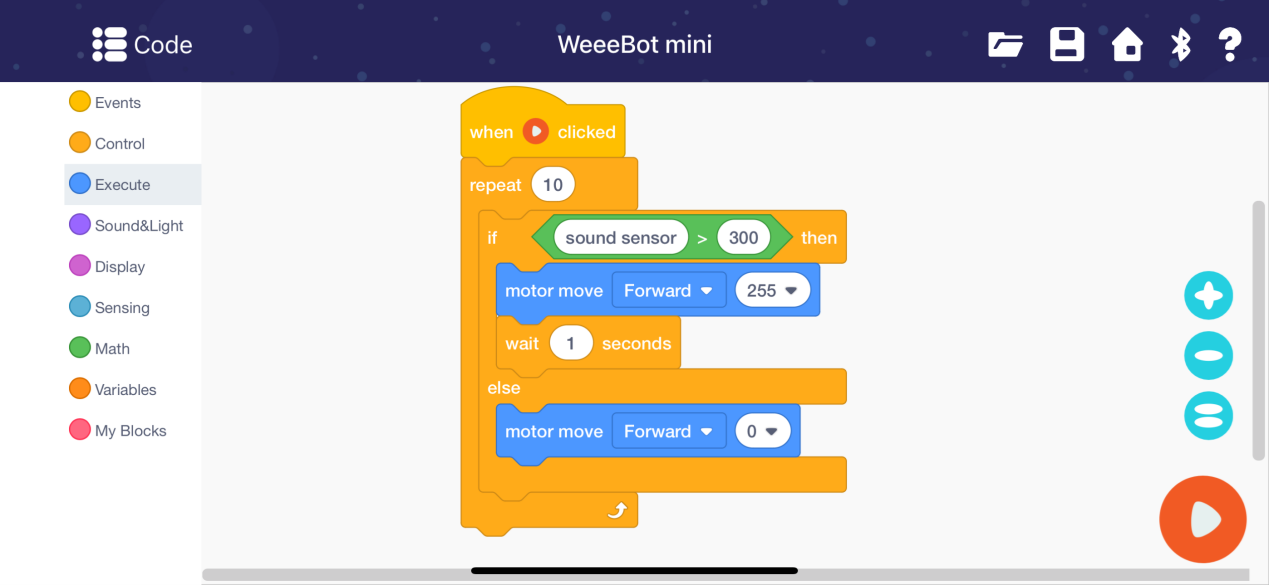
- Write a program that controls the robot’s forward movement by detecting the sound of a hand clap. (If Bluetooth is not connected, please connect Bluetooth)
